Let's cut to the chase. You've seen those incredible, close-up photos of birds or the moon and thought, "I want to do that." Digiscoping—attaching a camera or smartphone to a spotting scope—is the magic behind those shots. But when you search "what do I need for digiscoping," you're often met with a confusing list of expensive gear. It doesn't have to be that complicated or bank-breaking.
After a decade of fumbling with adapters, dealing with blurry images, and wasting money on the wrong stuff, I've learned what actually works. The core truth? You need three things: a decent scope, a way to connect your camera, and the knowledge to make them work together. Everything else is support. This guide will walk you through each piece, from the non-negotiable essentials to the nice-to-haves, with specific recommendations and budget-friendly paths.
Your Quick-Start Guide
- The Core Digiscoping Trinity: Scope, Phone, Adapter
- Choosing Your Spotting Scope: The Foundation
- Smartphone Camera Settings for Digiscoping
- The Adapter: Your Critical Link
- Essential Support Gear You Shouldn't Overlook
- My Personal Digiscoping Kit & Budget Scenarios
- Common Digiscoping Pitfalls and How to Avoid Them
- Your Digiscoping Questions Answered
The Core Digiscoping Trinity: Scope, Phone, Adapter
Think of these as the three legs of a stool. Remove one, and the whole thing falls over. You can't start without all three.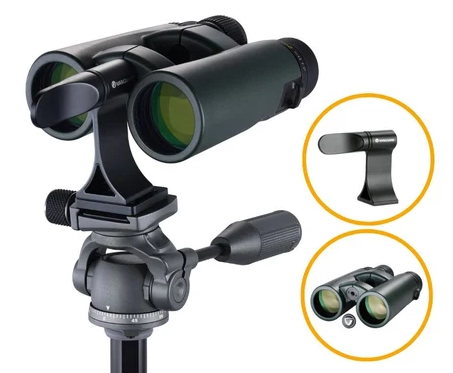
1. The Spotting Scope
This is your window. A telescope for land. Image quality starts here. A poor scope gives you a poor photo, no matter how good your phone is. The two key specs are magnification (e.g., 20-60x) and the objective lens diameter (e.g., 80mm). Bigger lenses gather more light, crucial for dawn, dusk, or shaded areas.
2. Your Imaging Device (Smartphone or Camera)
For 95% of beginners, your smartphone is perfect. Modern phones have fantastic sensors. The huge advantage? You already own it, and the workflow from shot to share is seamless. Dedicated cameras (point-and-shoots or DSLRs) offer more control but add cost and complexity. We'll focus on smartphones because that's where most people start.
3. The Digiscoping Adapter
This is the piece everyone tries to skip, and it's the number one reason for failure. Holding your phone by hand over the eyepiece is nearly impossible. You get vibration, misalignment, and dark edges (vignetting). The adapter securely clamps your phone to the scope's eyepiece, ensuring the camera lens is perfectly centered. It's not optional if you want consistent results.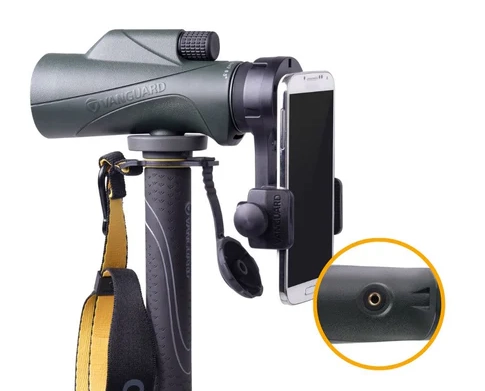
Choosing Your Spotting Scope: The Foundation
Don't just buy the first scope you see. Your choice here dictates everything else. The main fork in the road is between straight and angled eyepieces.
- Angled (45°): Easier on the neck for long sessions, easier to share with people of different heights, and often easier to stabilize on a tripod. For digiscoping, I find angled scopes more versatile, especially for subjects above or at eye level.
- Straight: Sometimes feels more intuitive for following fast-moving subjects like birds in flight. Better for shooting from a car window or a blind.
My take? For a primary digiscoping scope, go angled. The ergonomic benefit is huge.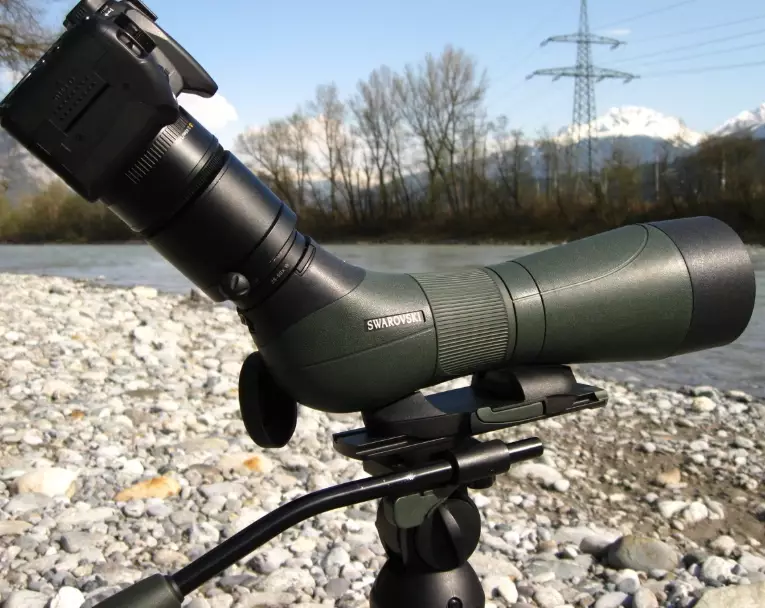
Scope Recommendations by Budget
| Budget Tier | Example Models | Key Features & Why It Works | Approx. Price |
|---|---|---|---|
| Entry-Level | Celestron Ultima 80, Gosky 20-60x80 | Fully multi-coated lenses, decent light gathering for the price. A solid platform to learn on without major investment. The image won't be as crisp as high-end models, but it proves the concept. | $100 - $250 |
| Mid-Range (Sweet Spot) | Vortex Razor HD 27-60x85, Athlon Optics Ares G2 15-45x65 | Here's where quality jumps. HD/ED glass significantly reduces chromatic aberration (color fringing). Brighter, sharper images. These scopes are lifetime investments for many hobbyists. | $500 - $1,200 |
| High-End | Swarovski ATX/STX, Kowa Prominar TSN-88 | Exceptional clarity, color fidelity, and light transmission. You're paying for optical perfection and durability. If you're serious and budget allows, this is the dream. | $2,500+ |
A pro tip rarely mentioned: check the eye relief of the eyepiece. Longer eye relief (15mm+) is crucial for digiscoping because it gives your phone's camera room to "see" the full image without pressing against the glass. Many kit eyepieces have short relief. Consider a dedicated long-eye-relief eyepiece if you have issues.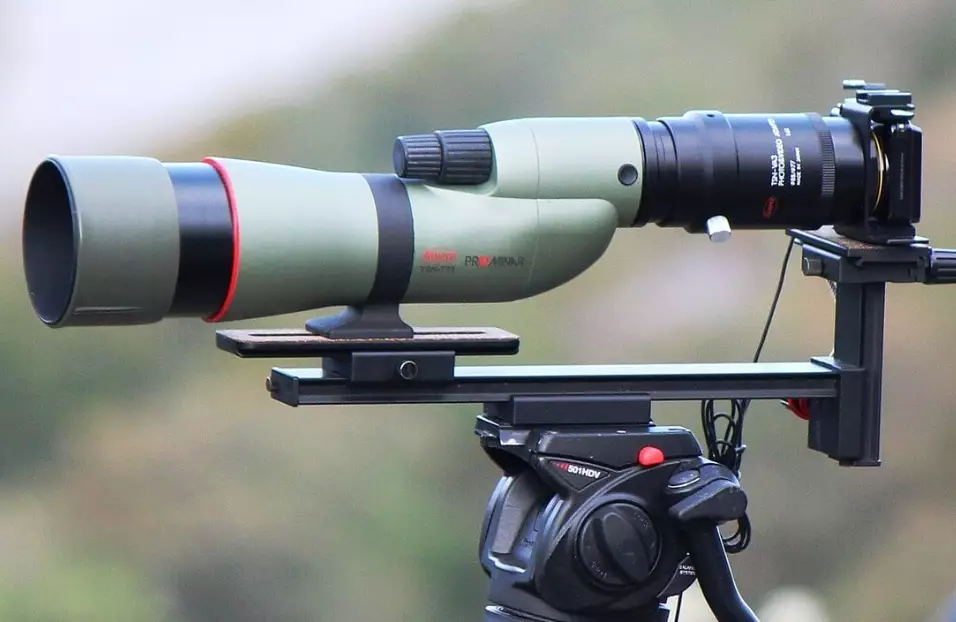
Smartphone Camera Settings for Digiscoping
Your phone's auto mode will struggle. It sees a small, bright circle (the scope's exit pupil) and tries to expose for it, often over-darkening the actual subject. You need to take control.
- Use Pro/Manual Mode: This is non-negotiable. Lock in your settings.
- ISO: Keep it as low as possible (ISO 50-200) to reduce noise. Grain ruins detail.
- Shutter Speed: This is critical. Any shake is magnified. Start at 1/250s or faster for birds. For stationary subjects, you can go slower if using a remote shutter.
- Focus: Tap to focus on your subject. Often, switching to manual focus in the Pro app and setting it to infinity works well, as the scope is doing the focusing.
- White Balance: Set it to "Daylight" or "Sunny" for consistency.
- Shoot in RAW: If your phone allows it (like with Adobe Lightroom mobile). This gives you much more editing latitude to fix exposure and color later.
Forget digital zoom. Ever. It just crops and destroys quality. All your zoom comes from the scope's magnification.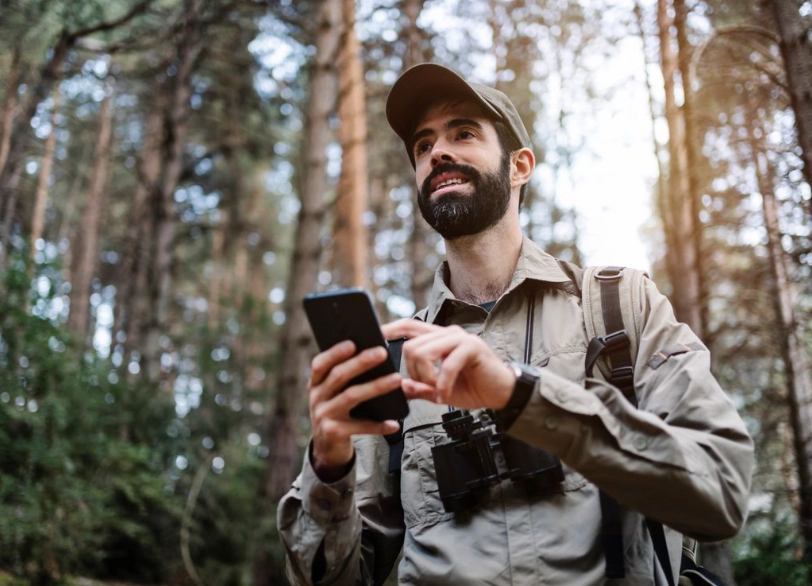
The Adapter: Your Critical Link
Adapters come in two main flavors: universal clamp-style and model-specific case-style.
- Universal Clamp (e.g., Gosky, Svbony): Has adjustable arms that clamp onto your phone. Works with almost any phone and case. More fiddly to align perfectly each time, but incredibly versatile. This is what I recommend for starters. Cost: $25-$40.
- Case-Specific (e.g., Phone Skope, Kowa DA): You get a custom case for your exact phone model that screws onto a dedicated adapter plate. Alignment is perfect and repeatable every time. It's faster and more robust but locks you into that phone model. Cost: $80-$150.
My advice? Start with a universal clamp like the Gosky. It's cheap and teaches you the importance of alignment. If you digiscope constantly, upgrade to a Phone Skope system later.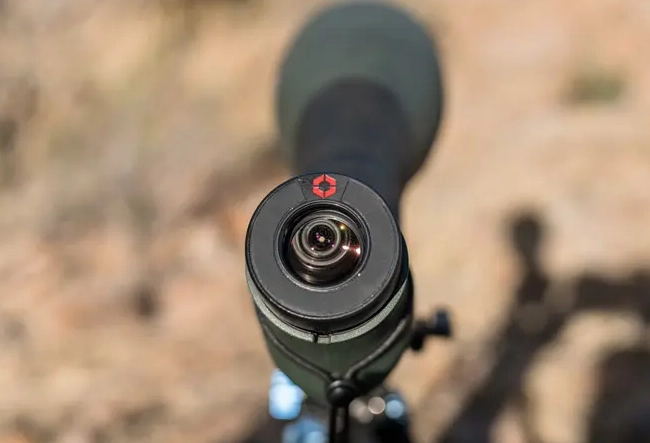
Essential Support Gear You Shouldn't Overlook
The trio gets you started, but this stuff makes the experience good instead of frustrating.
A Sturdy Tripod
Your scope magnifies movement. A wobbly tripod makes digiscoping impossible. Look for a tripod rated for at least 1.5x the weight of your scope and phone combined. Carbon fiber is lighter and dampens vibration better than aluminum but costs more. A good fluid video head (like from Sirui or Manfrotto) allows smooth panning to follow subjects.
Remote Shutter Release
Touching your phone's screen introduces shake. A simple Bluetooth remote shutter button (available for under $10) is a game-changer for sharpness.
Power Bank
Using your camera app with the screen on full brightness drains the battery fast. A 10,000mAh power bank is cheap insurance for a full day in the field.
My Personal Digiscoping Kit & Budget Scenarios
Here's what's in my bag right now for a typical birding day:
- Scope: Vortex Razor HD 27-60x85 (Angled)
- Phone: iPhone 15 Pro
- Adapter: Phone Skope custom case system (I upgraded from a Gosky clamp)
- Tripod: Sirui VA-5 fluid head on carbon fiber legs
- Extras: Bluetooth shutter, lens cleaning cloth, power bank.
But you don't need that. Let's build some realistic setups:
The Budget-Conscious Starter (Under $400):
Gosky 20-60x80 Scope ($180) + Universal Phone Adapter ($30) + Basic Aluminum Tripod ($80) + Your Smartphone ($0) + Bluetooth Remote ($8). Total: ~$300. This gets you in the game with capable gear.
The Committed Hobbyist (Under $1000):
Athlon Ares G2 15-45x65 Scope ($500) + Phone Skope Adapter System ($120) + Stable Video Tripod ($250). Total: ~$870. A massive leap in optical quality and stability.
Common Digiscoping Pitfalls and How to Avoid Them
I've made these mistakes so you don't have to.
Vignetting (Dark Corners): This means your phone's camera isn't aligned perfectly with the scope's eyepiece. Zoom the scope's magnification in a bit (to widen the exit pupil) or adjust your phone forward/back in the clamp. Sometimes, slightly zooming your phone's camera digitally (just 1.1x) can crop out the vignette without too much quality loss.
Soft or Blurry Images: 90% of the time, it's camera shake. 1) Ensure your tripod is solid and not extended too high. 2) Use a faster shutter speed (1/500s). 3) Use a remote shutter. 4) Make sure the scope itself is in sharp focus.
Weird Colors or Flare: This is often chromatic aberration from the scope (purple/green edges). Higher-quality ED/HD glass minimizes it. You can also reduce it in editing software. Use a lens hood or your hand to shade the objective lens from direct sunlight.
Reader Comments