You've seen the stunning photos online—a Bald Eagle's feather detail from 100 yards away, a Warbler's eye perfectly in focus through dense foliage. The caption often reads "taken through my spotting scope." That's digiscoping. The idea is seductive: attach your phone or a small camera to a birding scope and unlock super-telephoto powers without a $10,000 lens. But before you max out your credit card, let's be brutally honest. Digiscoping isn't a magic bullet. It's a niche, often frustrating, but uniquely rewarding craft. The answer to "is it worth it?" isn't a simple yes or no. It's a loud, clear "it depends entirely on what you want and your tolerance for technical fiddling." I've been doing this for over a decade, and I've spent more time than I'd like to admit fixing blurry shots and dealing with shaky setups. This guide will show you the unvarnished reality.
What You'll Find in This Guide
What Digiscoping Actually Is (And Isn't)
At its core, digiscoping is adaptation, not optimization. You're using an optical tool designed for viewing (a spotting scope) for a task it wasn't primarily built for (photography). A quality scope like those from Kowa or Swarovski provides an incredibly bright, sharp image for your eye. The digiscoping adapter's job is to align a camera sensor with that eyepiece to capture that image.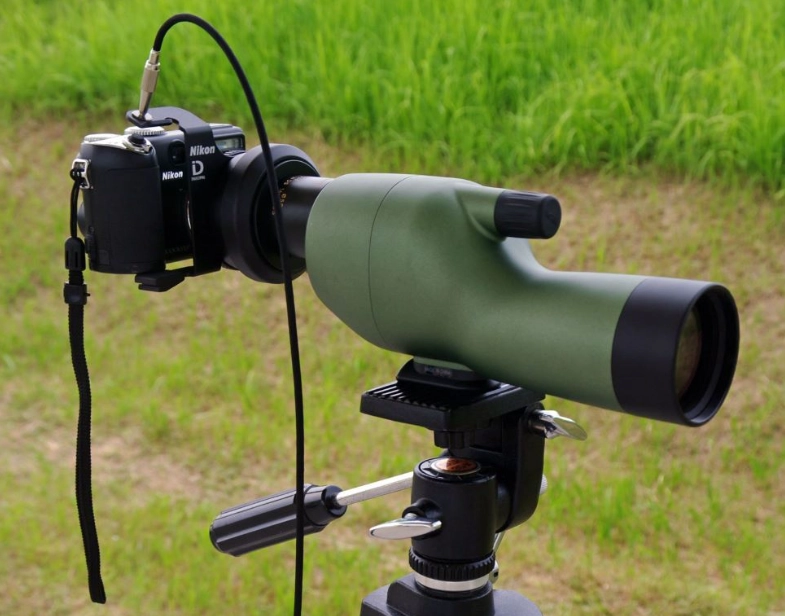
This is fundamentally different from a dedicated telephoto camera lens. A lens projects an image directly onto the sensor. A scope projects an image into your eye, and you're then photographing that image. This extra step introduces variables: alignment precision, vibration, and potential light loss.
The most common setup today is phone-scoping. It's accessible. You buy an adapter that clamps your phone over the scope's eyepiece. The other route is using a dedicated compact camera (often called a "digicam") with a threaded adapter for a more permanent, stable connection. DSLR or mirrorless digiscoping exists but is far more niche and complex.
Key Insight: Think of digiscoping as documentary-grade wildlife photography. It's for capturing identifiable images of distant subjects for records, sharing with birding groups, or personal memories. It is generally not for producing gallery-print, tack-sharp, action-freezing wildlife portraits. That distinction is crucial for setting expectations.
The Real Cost Breakdown: More Than Just a Scope
Everyone looks at the scope price. That's the first mistake. A functional digiscoping rig is a system. Forget the $500 entry-level scope kit. For consistent results, you need a stable foundation. Here’s what a realistic mid-tier setup actually costs.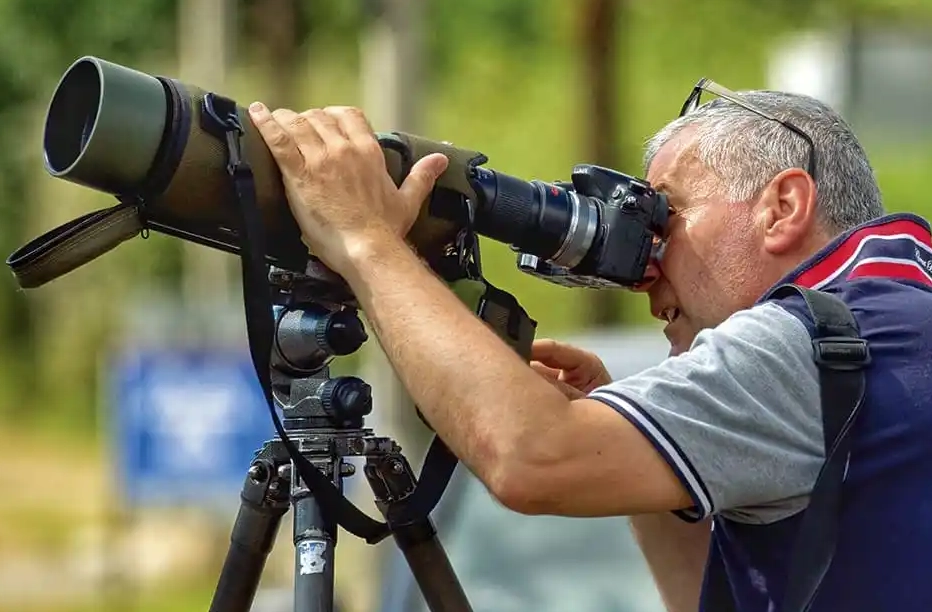
| Component | Purpose & Why It Matters | Realistic Cost Range (USD) |
|---|---|---|
| Spotting Scope | The heart. You need a scope with a sharp, high-contrast image and a smooth focusing mechanism. Angled bodies are easier for tripod work. Brands like Kowa (TSN-880/990 series) are digiscoping legends. | $1,200 - $3,500 |
| Tripod | Non-negotiable. A wobbly tripod ruins every shot. Needs to be sturdy enough to hold the scope steady in a breeze. Carbon fiber is light for hiking. | $250 - $800 |
| Tripod Head | Often overlooked. A fluid video head or a gimbal head allows smooth panning and precise positioning, which is critical for tracking birds. | $150 - $600 |
| Digiscoping Adapter | Holds your phone/camera perfectly centered over the eyepiece. A cheap universal clamp will cause vignetting and alignment headaches. | $80 - $250 |
| Eyepiece | The scope body often comes with one. A wide-angle, fixed magnification eyepiece (e.g., 25-30x) often works better than a zoom for digiscoping. | $200 - $500 (if not included) |
| Total Realistic Investment | A system that won't frustrate you into quitting | $1,880 - $5,650+ |
See? It adds up fast. You can start cheaper, maybe with a used scope and a basic tripod. But the rule is: your system is only as stable as its weakest link. A $2,000 scope on a $50 tripod is a $50 setup.
The Biggest Challenges Nobody Talks About
Here’s where my decade of frustration pays off for you. These are the daily realities that product photos don't show.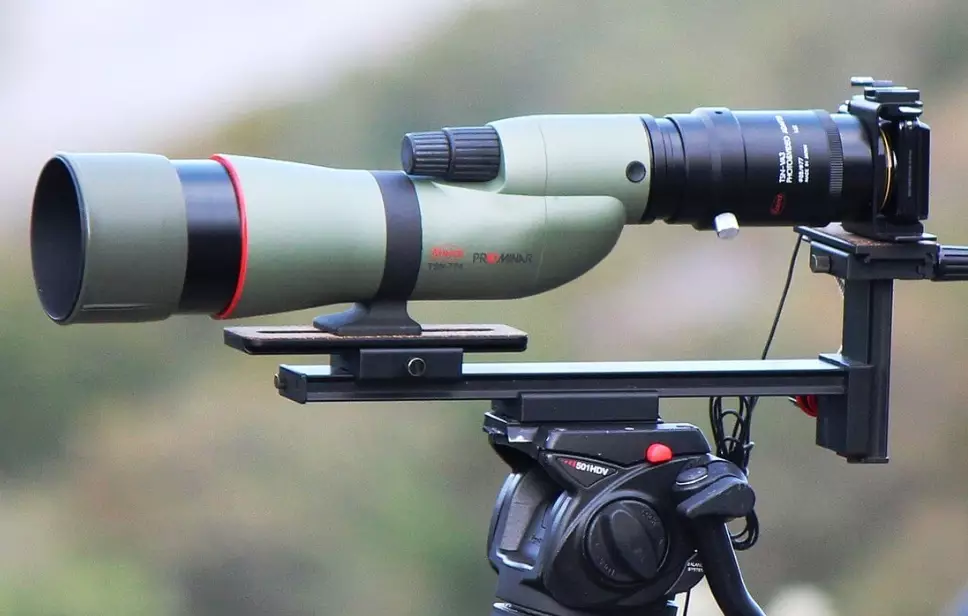
1. The Shake is Unreal
At high magnification, every tiny movement is amplified. Your heartbeat can bounce the image. A gentle breeze becomes an earthquake. Even pressing your phone's shutter button can induce shake. You must use a timer or a Bluetooth remote. This isn't like handholding a camera at 200mm.
2. The "Sweet Spot" is Tiny
Getting perfect alignment where the camera sensor sees the full, bright, un-vignetted circle of the scope's image is fiddly. It changes if you adjust zoom. A slight bump can knock it off. This is the main reason people give up—they never find a consistent, sharp alignment.
3. Light is Your Dictator
Digiscoping sucks in low light. Scopes have slow effective apertures (often f/8 equivalent or slower). Your camera's ISO will ramp up, introducing noise. The best digiscoping happens on bright, sunny days. Overcast days or forest interiors are a major struggle.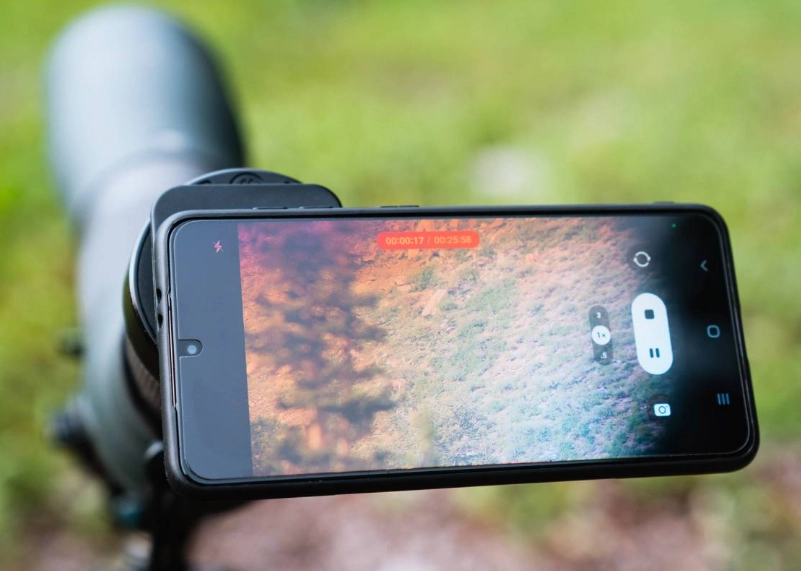
4. Focusing is a Delicate Dance
Scope focus knobs are precise, but the depth of field is razor-thin. A bird moving an inch towards or away from you can go out of focus. It requires constant, minute adjustments. Autofocus? Forget it. This is 100% manual focus territory.
Who Is Digiscoping Actually For?
Given the challenges and cost, who wins? Digiscoping is worth it for:
- The Committed Birder who already owns a high-end scope and tripod for observation. Adding a $150 phone adapter is a low-cost experiment to document rare sightings for eBird or local forums.
- The Patient Tinkerer who enjoys the technical process as much as the result. If you like solving puzzles and don't mind missing 20 shots to get one good one, you'll find satisfaction here.
- Someone with Physical Limitations who can't carry a massive 600mm f/4 lens. A scope and tripod, while not light, are often lighter than that lens alone.
- The Distance Specialist observing subjects at extreme ranges where even a 600mm lens is insufficient (e.g., distant shorebirds, eagles on a cliff, marine mammals).
It's not for the casual photographer wanting easy, Instagram-ready bird portraits. It's not for shooting birds in flight (with very rare exceptions). It's not for low-light scenarios like owls at dusk.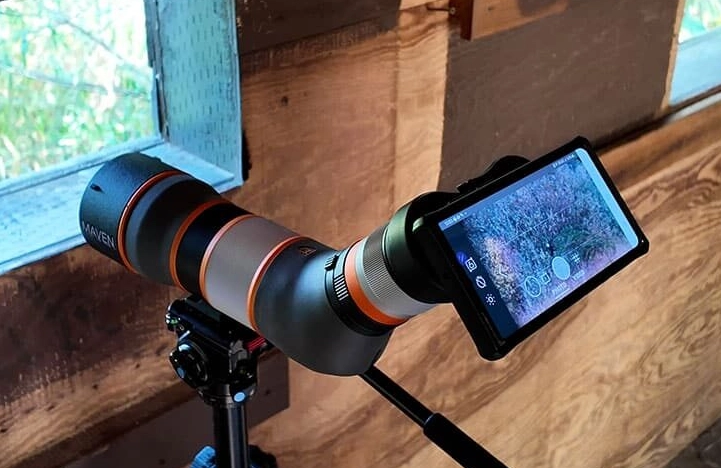
Serious Alternatives: When a Big Lens Wins
Let's be fair. For many, a dedicated telephoto lens is a better path.
Modern Superzoom Cameras: A camera like the Nikon P1000 or Sony RX10 IV gives you an insane zoom range (up to 3000mm equivalent) in one package with autofocus, image stabilization, and no adapter hassle. Image quality won't match a scope+good camera, but the versatility is unbeatable for beginners.
Telephoto Lens + Cropping: A 150-600mm lens on an APS-C camera gives you 900mm equivalent. With today's high-resolution sensors (24MP+), you can crop aggressively and often match the field of view of a digiscoped image, with the benefit of autofocus and faster handling. Websites like Audubon often feature shots taken with this type of setup.
The Hybrid Approach: Many serious bird photographers I know do both. They use a big lens for active, closer photography and keep a phone adapter in their bag for that one time a mega-rarity appears on the far side of the pond. The scope was already there for viewing anyway.
How to Get Started the Right Way (If You Proceed)
If you're still intrigued, don't just buy stuff. Follow this path to avoid waste.
1. Borrow or Try Before You Buy. Attend a birding festival. Companies like Vortex or Celestron often have demo days. Ask in your local birding club if someone will let you try their setup.
2. Prioritize the Support. If you have a budget, spend more on the tripod and head than you think you should. A used, high-quality scope on a rock-solid support will outperform a new, cheap scope on a wobbly one.
3. Start with Phone-Scoping. Get a reputable adapter from brands like Phone Skope or Carson. Use your existing phone. Master alignment and shooting in bright light with stationary subjects (like a seed feeder in your yard).
4. Use Manual Camera Apps. Your phone's default camera app is terrible for this. Use an app like ProCam or Moment that lets you lock focus, set a timer, and manually control ISO and shutter speed to reduce shake.
5. Practice the Workflow. It's a sequence: Spot bird with binoculars. Set up tripod. Mount scope. Find bird in scope. Attach phone/adapter. Fine-tune alignment. Adjust scope focus. Set phone exposure. Use timer/remote. Breathe out. Shoot. It needs to become muscle memory.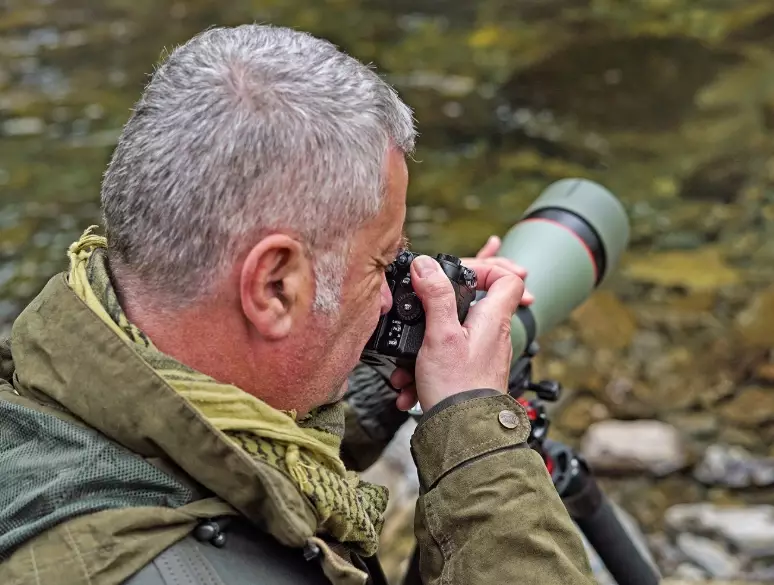
Your Digiscoping Questions, Answered
So, is digiscoping worth it? If your goal is convenient, high-quality documentation of distant wildlife and you enjoy a technical challenge, the answer can be a resounding yes. If you want effortless, professional-looking bird portraits, invest in a telephoto lens instead. Digiscoping occupies a unique, demanding, and deeply satisfying middle ground. It turns your scope from just a viewing tool into a data-gathering device. Just go in with your eyes wide open to the costs, both financial and in terms of effort. The learning curve is steep, but the view from the top can be spectacular.
Reader Comments